Die-Cutting Cost Drivers for Custom Insulation Parts
Table of Contents
The cost of custom die-cut insulation parts depends on more than the price of the raw material. Material selection, part geometry, tooling, dimensional tolerances, production volume, material yield, lamination, inspection, packaging, and delivery all influence the final quote. The most effective way to control die cutting cost is to make design and manufacturing decisions together—before the drawing is released.
For EV battery systems, electronics, and industrial equipment, the lowest unit price is not always the lowest total cost. A design that is difficult to convert, inspect, or assemble can create scrap, rework, delays, or field risk. A practical cost review therefore considers both piece price and the requirements needed to make the part consistently.
1. Material Selection: Start With the Application
Material cost is often a major component of a custom insulation part, but price per sheet alone is not enough to compare options. Thickness, roll or sheet format, usable width, protective liners, adhesive, storage requirements, and expected scrap all affect the material cost per finished part. The selected material must also meet the application’s electrical, thermal, mechanical, flame-retardant, environmental, and assembly requirements.
For example, a lower-cost film may be suitable for a simple electrical barrier but unsuitable for an application requiring a specific flame rating or elevated-temperature performance. Conversely, specifying a premium material without a defined engineering need can add cost without improving the finished assembly. Confirm required properties against the relevant datasheet, test conditions, and end-use requirements.
| Material family | Potential cost considerations | Questions to resolve before quoting |
| Polycarbonate (PC) film | Thickness, grade, flame-retardant rating, surface finish, protective film, and yield. | What electrical, flammability, temperature, and dimensional requirements apply? |
| PET insulation film | Film thickness, grade, dimensional stability, adhesive or coating, and roll utilization. | Is PET suitable for the actual thermal, dielectric, and mechanical environment? |
| Mica sheet or mica-based material | Material grade, thickness, brittleness, edge quality, handling, and scrap. | Does the design require a rigid barrier, and how will edges and small features be handled? |
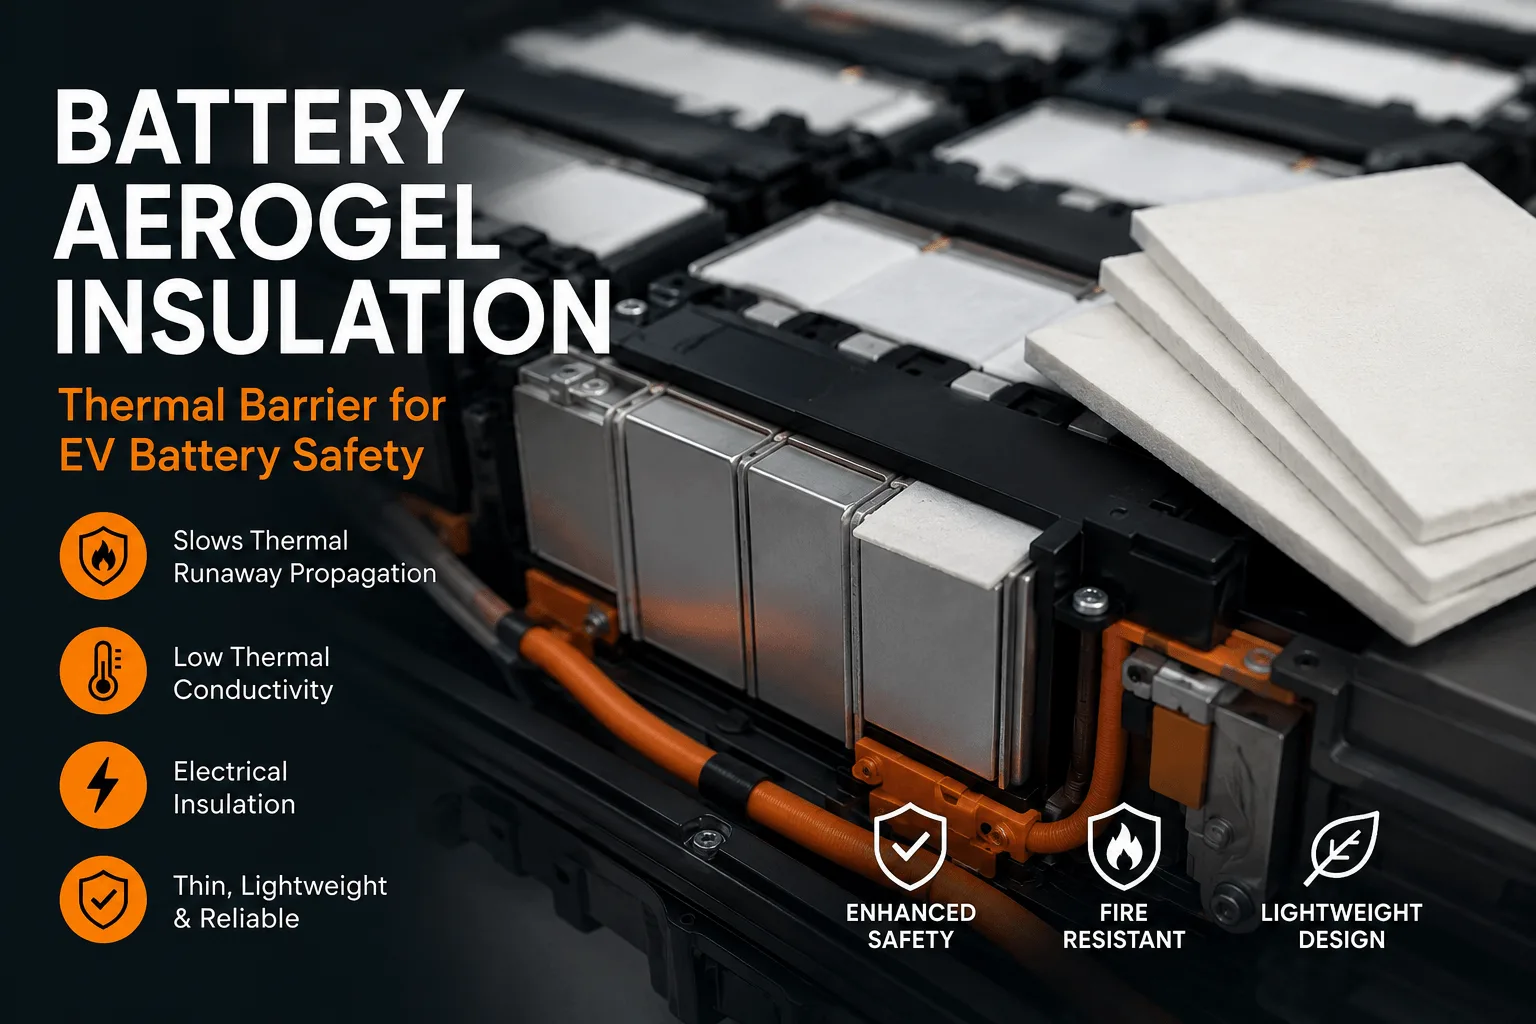
| Aerogel insulation | Material construction, thickness, handling, compression behavior, protective layers, and cutting yield. | What thermal performance and mechanical protection are required in the final assembly? |
| Adhesive-backed insulation | Base material, adhesive chemistry, liner, lamination, die-cutting sequence, and liner removal. | What substrate, temperature range, bond strength, and assembly process must the adhesive support? |
These are general cost considerations, not a ranking of material prices. Actual costs depend on the specified grade, supplier, quantity, availability, and manufacturing route. A valid comparison should evaluate equivalent performance requirements rather than compare materials by name alone.
2. Part Geometry and Design Complexity
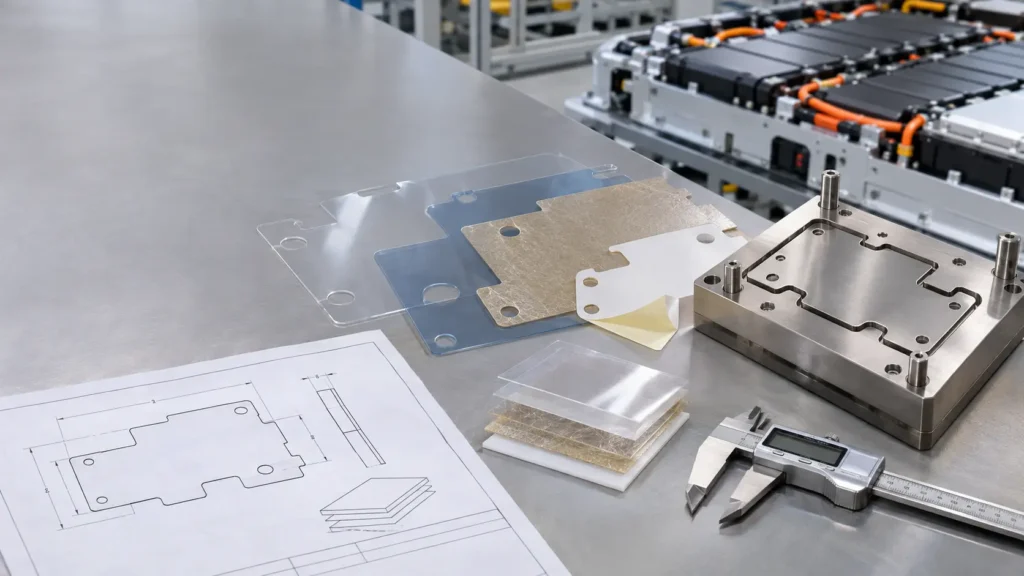
The geometry of a die-cut part affects tool design, cutting time, part removal, scrap generation, and inspection. Simple outlines are generally easier to manufacture than parts with many small holes, narrow webs, sharp internal corners, closely spaced features, or delicate tabs. Complex shapes are not automatically uneconomical, but they should be reviewed for manufacturability before the design is frozen.
Common geometry features that can increase cost include:
- Very small holes or narrow slots that are difficult to cut, strip, or inspect consistently.
- Narrow bridges or thin sections that may tear or deform during converting and handling.
- Many internal cutouts that reduce material utilization.
- Tight positional relationships between features that require more demanding tooling or inspection.
- Parts that are difficult to nest efficiently across the available sheet or roll width.
A Design for Manufacturability (DFM) review should ask whether each feature serves a functional purpose, whether multiple features can be simplified, and whether the part can be nested efficiently without compromising fit or performance. Do not remove safety-critical features simply to reduce cost; instead, document the function of each feature and evaluate alternatives with the design engineer.
3. Tooling Cost and Production Volume
Tooling is the upfront cost of creating or preparing the cutting tool and any associated fixtures needed for the part. Tooling cost varies with geometry, tool type, material, required precision, and the manufacturing process. A prototype may be produced using a lower-commitment method where technically suitable, while repeat production may justify dedicated tooling. The best route depends on the design and expected demand.
| Production stage | Typical cost pattern | Planning consideration |
| Prototype / design validation | Higher cost per part is common because setup and engineering are spread over few pieces. | Confirm fit, function, material, and critical dimensions before committing to production tooling. |
| Low-volume production | Setup and tooling can remain a significant share of unit cost. | Discuss tool reuse, small-batch scheduling, and whether the design is stable. |
| High-volume production | Tooling and setup may be distributed across more parts, reducing their per-unit contribution. | Validate process capability, material supply, quality controls, and expected annual demand. |
Tooling amortization: a simple example
A useful estimating formula is:
Unit Cost = (Tooling Cost ÷ Production Quantity) + Material Cost per Part + Processing Cost per Part + Additional Costs per Part
Hypothetical example only—not a Boost Insulation quote or market price: assume tooling costs $1,200, the order quantity is 10,000 parts, material cost is $0.18 per part, processing is $0.12 per part, and additional costs are $0.05 per part. Tooling contributes $1,200 ÷ 10,000 = $0.12 per part. The estimated total is $0.12 + $0.18 + $0.12 + $0.05 = $0.47 per part, before any costs not included in the assumptions, such as taxes or freight.
If the same tooling cost were spread over 1,000 parts, its contribution would be $1.20 per part. This illustrates why order quantity matters. It does not mean every high-volume order will have a lower total unit cost: material price breaks, scrap, setup, inspection, packaging, and process changes can alter the result.
4. Tolerances and Quality Requirements
Tolerances should reflect the function of the part and the capability of the selected process. Very tight dimensional tolerances may require more controlled tooling, additional inspection, more frequent checks, or higher rejection allowances. They can also be difficult to maintain in materials that compress, stretch, fray, or change dimension with temperature or humidity.
Identify critical-to-function dimensions and distinguish them from noncritical dimensions. Where appropriate, specify datum references, measurement methods, sampling plans, and acceptance criteria. Avoid applying the tightest tolerance to every feature by default. Any proposed tolerance change must be approved by the responsible design authority and must preserve the safety and function of the assembly.
Quality requirements can also affect cost. Incoming material verification, dimensional inspection, adhesive peel testing, dielectric testing, traceability, lot documentation, and special packaging may be necessary for a particular application. Quote these requirements explicitly so that the supplier and customer are pricing the same scope.
5. Material Utilization, Nesting, and Scrap
Material utilization is the share of purchased material that becomes acceptable finished parts. The remainder may include the skeleton, internal cutouts, trim margins, setup scrap, defects, and material left over at the end of a roll. A design with a low unit material price can still be expensive if it creates substantial waste.
Nesting means arranging part shapes to use the available sheet or roll width efficiently. Rotating or alternating parts may improve yield when the material direction and functional requirements allow it. However, grain direction, adhesive direction, cosmetic surfaces, roll direction, and dimensional stability may limit how parts can be nested.
Practical ways to improve material yield include:
- Provide the preferred sheet or roll dimensions when known.
- Allow the converter to review nesting and part orientation.
- Avoid unnecessary margins and cutouts where design requirements permit.
- Consider whether several related parts can be nested together in one production layout.
- Track actual scrap and yield during sampling instead of relying only on theoretical layout estimates.

6. Rotary Die Cutting vs. Flatbed Die Cutting
The best process depends on material, geometry, tolerance, production volume, and the required finishing operations. Neither process is always cheaper.
| Consideration | Rotary die cutting | Flatbed die cutting |
| Typical fit | Often considered for repeat production and continuous roll-fed converting. | Often considered for sheet or roll materials and a wide range of part geometries. |
| Setup and tooling | Tooling and setup depend on rotary tooling design and process configuration. | Tooling and setup depend on die construction, press, and part requirements. |
| Production economics | Can be attractive when volume and process flow support continuous production. | Can be practical for prototypes, lower volumes, or designs suited to flatbed tooling. |
| Design constraints | Web handling, repeat length, tool layout, and material behavior must be reviewed. | Cutting force, stripping, sheet handling, and feature geometry must be reviewed. |
| Best decision method | Compare quoted total cost and yield for the specific part. | Compare quoted total cost and yield for the specific part. |
Ask the manufacturer to recommend the process based on the actual drawing and demand forecast. Include tooling, setup, material utilization, quality requirements, and expected order quantities in the comparison.
7. Lamination, Adhesives, Inspection, and Logistics
Lamination and multi-layer construction
Combining a film, foam, adhesive, liner, or other insulation layer may simplify assembly, but it can add material cost and converting steps. Each interface introduces requirements for alignment, bonding, handling, and inspection. Specify the layer order, adhesive coverage, liner type, and any keep-out areas on the drawing or technical specification.
Inspection and testing
Inspection scope should match the risk and function of the component. A simple dimensional check may be sufficient for some features, while safety-critical applications may require documented material certification, traceability, electrical testing, or other validated tests. Clearly state which tests are mandatory, who performs them, and what records must accompany the shipment.
Packaging and delivery
Packaging can affect both cost and quality. Delicate materials may require protective liners, separators, moisture protection, controlled stacking, or specific orientation. International freight, customs documentation, shipping terms, and delivery schedules can also affect total landed cost. Define packaging and delivery requirements early, particularly for parts delivered directly to an assembly line.
8. Common Costly Design and Purchasing Mistakes
- Applying unnecessarily tight tolerances to every dimension instead of identifying critical features.
- Changing the drawing after tooling has been approved, creating rework or new tooling expense.
- Selecting a material by unit price without checking performance, thickness, yield, or assembly requirements.
- Ignoring nesting and scrap until after the quotation is received.
- Requesting a quote without quantities, forecast, CAD files, or inspection requirements.
- Comparing quotes with different assumptions about tooling ownership, testing, packaging, or freight.
- Specifying adhesive or lamination without identifying the mating substrate and operating environment.
- Assuming a process is cheaper based on its name rather than comparing the complete cost for the actual part.
The most useful corrective action is to align engineering, quality, procurement, and the converter before the design is frozen. A short DFM review can identify avoidable costs while preserving the requirements that matter.

9. RFQ Checklist: What to Send for an Accurate Quote
A complete request for quotation (RFQ) helps suppliers estimate tooling, material, process, inspection, and delivery costs consistently. Include the following wherever applicable:
- 2D drawing and 3D CAD file, if available, with revision level and units clearly identified.
- Material specification, approved grade, thickness, color, and any required certification or datasheet.
- Critical dimensions, tolerances, datums, and inspection method.
- Part quantity for prototype, initial order, annual demand, and expected repeat orders.
- Adhesive type, coverage, liner requirements, and multi-layer stack-up.
- Application environment, including temperature, electrical, flame, chemical, or mechanical requirements.
- Required testing, inspection records, lot traceability, and acceptance criteria.
- Packaging, labeling, cleanliness, and handling requirements.
- Requested sample date, production schedule, ship-to location, and delivery terms.
- Any approved alternatives or design flexibility that the supplier may evaluate for cost reduction.
If a requirement is not yet finalized, mark it as open rather than allowing the supplier to assume a value. Ask suppliers to identify exclusions and assumptions in their quotations.
10. Working With Boost Insulation
Boost Insulation’s public website describes custom insulation materials, EV battery module insulation, aerogel insulation, flame-retardant polycarbonate films, and die-cutting-related manufacturing support. Its product pages also describe design-for-manufacturing review and custom processing. For a specific project, confirm material availability, process suitability, tolerances, testing, lead time, and production capability directly with the company before finalizing the design.
A useful supplier review should cover the complete part—not only the cutting operation. Material selection, part geometry, lamination, nesting, inspection, and packaging can all influence cost and production consistency. Sharing a clear drawing and the intended application gives the engineering team a stronger basis for assessing manufacturability.
Conclusion: Optimize Total Cost, Not Just Piece Price
Custom die-cut insulation cost is shaped by the interaction of material, geometry, tooling, tolerances, production volume, yield, secondary operations, inspection, and delivery. The lowest raw-material price or the lowest initial tooling quote does not necessarily produce the lowest total cost.
The most effective approach is to define the functional requirements, identify critical dimensions, review material utilization, compare suitable manufacturing processes, and provide a complete RFQ. Make cost-reduction decisions with engineering and quality teams so that savings do not compromise insulation performance or assembly reliability.
Request a Custom Die-Cutting Quote
Planning a custom insulation component for an EV battery, electronics assembly, or industrial application? Share your drawing, material requirements, expected quantities, and inspection criteria with Boost Insulation to discuss manufacturability and quotation options.
Website: https://boostinsulation.com/
Relevant product pages: Aerogel Insulation, EV Battery Module Insulation, UL94 V-0 PC Films.
Frequently Asked Questions
What determines the cost of custom die-cut insulation parts?
The main factors are material grade and thickness, part geometry, tooling, tolerances, order quantity, material yield, secondary operations, inspection, packaging, and delivery requirements.
Does higher production volume reduce die-cutting cost per part?
It can reduce the per-part share of setup and tooling costs, but the result depends on material pricing, yield, process choice, quality requirements, and order scheduling.
Which is cheaper: rotary or flatbed die cutting?
Neither process is always cheaper. The best option depends on the part geometry, material, volume, tooling, setup, and expected scrap. Compare quotations using the same assumptions.
How can I reduce custom die-cutting costs without lowering quality?
Review tolerances, simplify noncritical geometry, improve nesting, select a fit-for-purpose material, stabilize the design before tooling, and define inspection requirements clearly.
What information is needed for a die-cutting RFQ?
Provide CAD drawings, material and thickness specifications, critical tolerances, quantities, adhesive or lamination details, inspection criteria, packaging needs, and delivery requirements.
Related Posts:
How to Select PC Film Thickness for Electrical Parts?
How Does Mica Insulation Compare With Polycarbonate?
Why Choose a China Factory for Die-Cut Insulation?
How Does FR4 Support EV Battery Contactors and Fuses?
Why EV Battery Modules Need Specialized Insulation?
What Is Battery Aerogel Insulation for EV Battery Packs?
 betty wong